First steps in PageSeeder
Sign in to PageSeeder as an administrator and enable the developer view. To learn about what projects and groups are in PageSeeder, read 1. Before you start.
Great, lets get our feet wet!
Create a first project
Go to the PageSeeder dashboard.
Click the New project link in the System administration menu on the left-hand side.
Fill out the form:
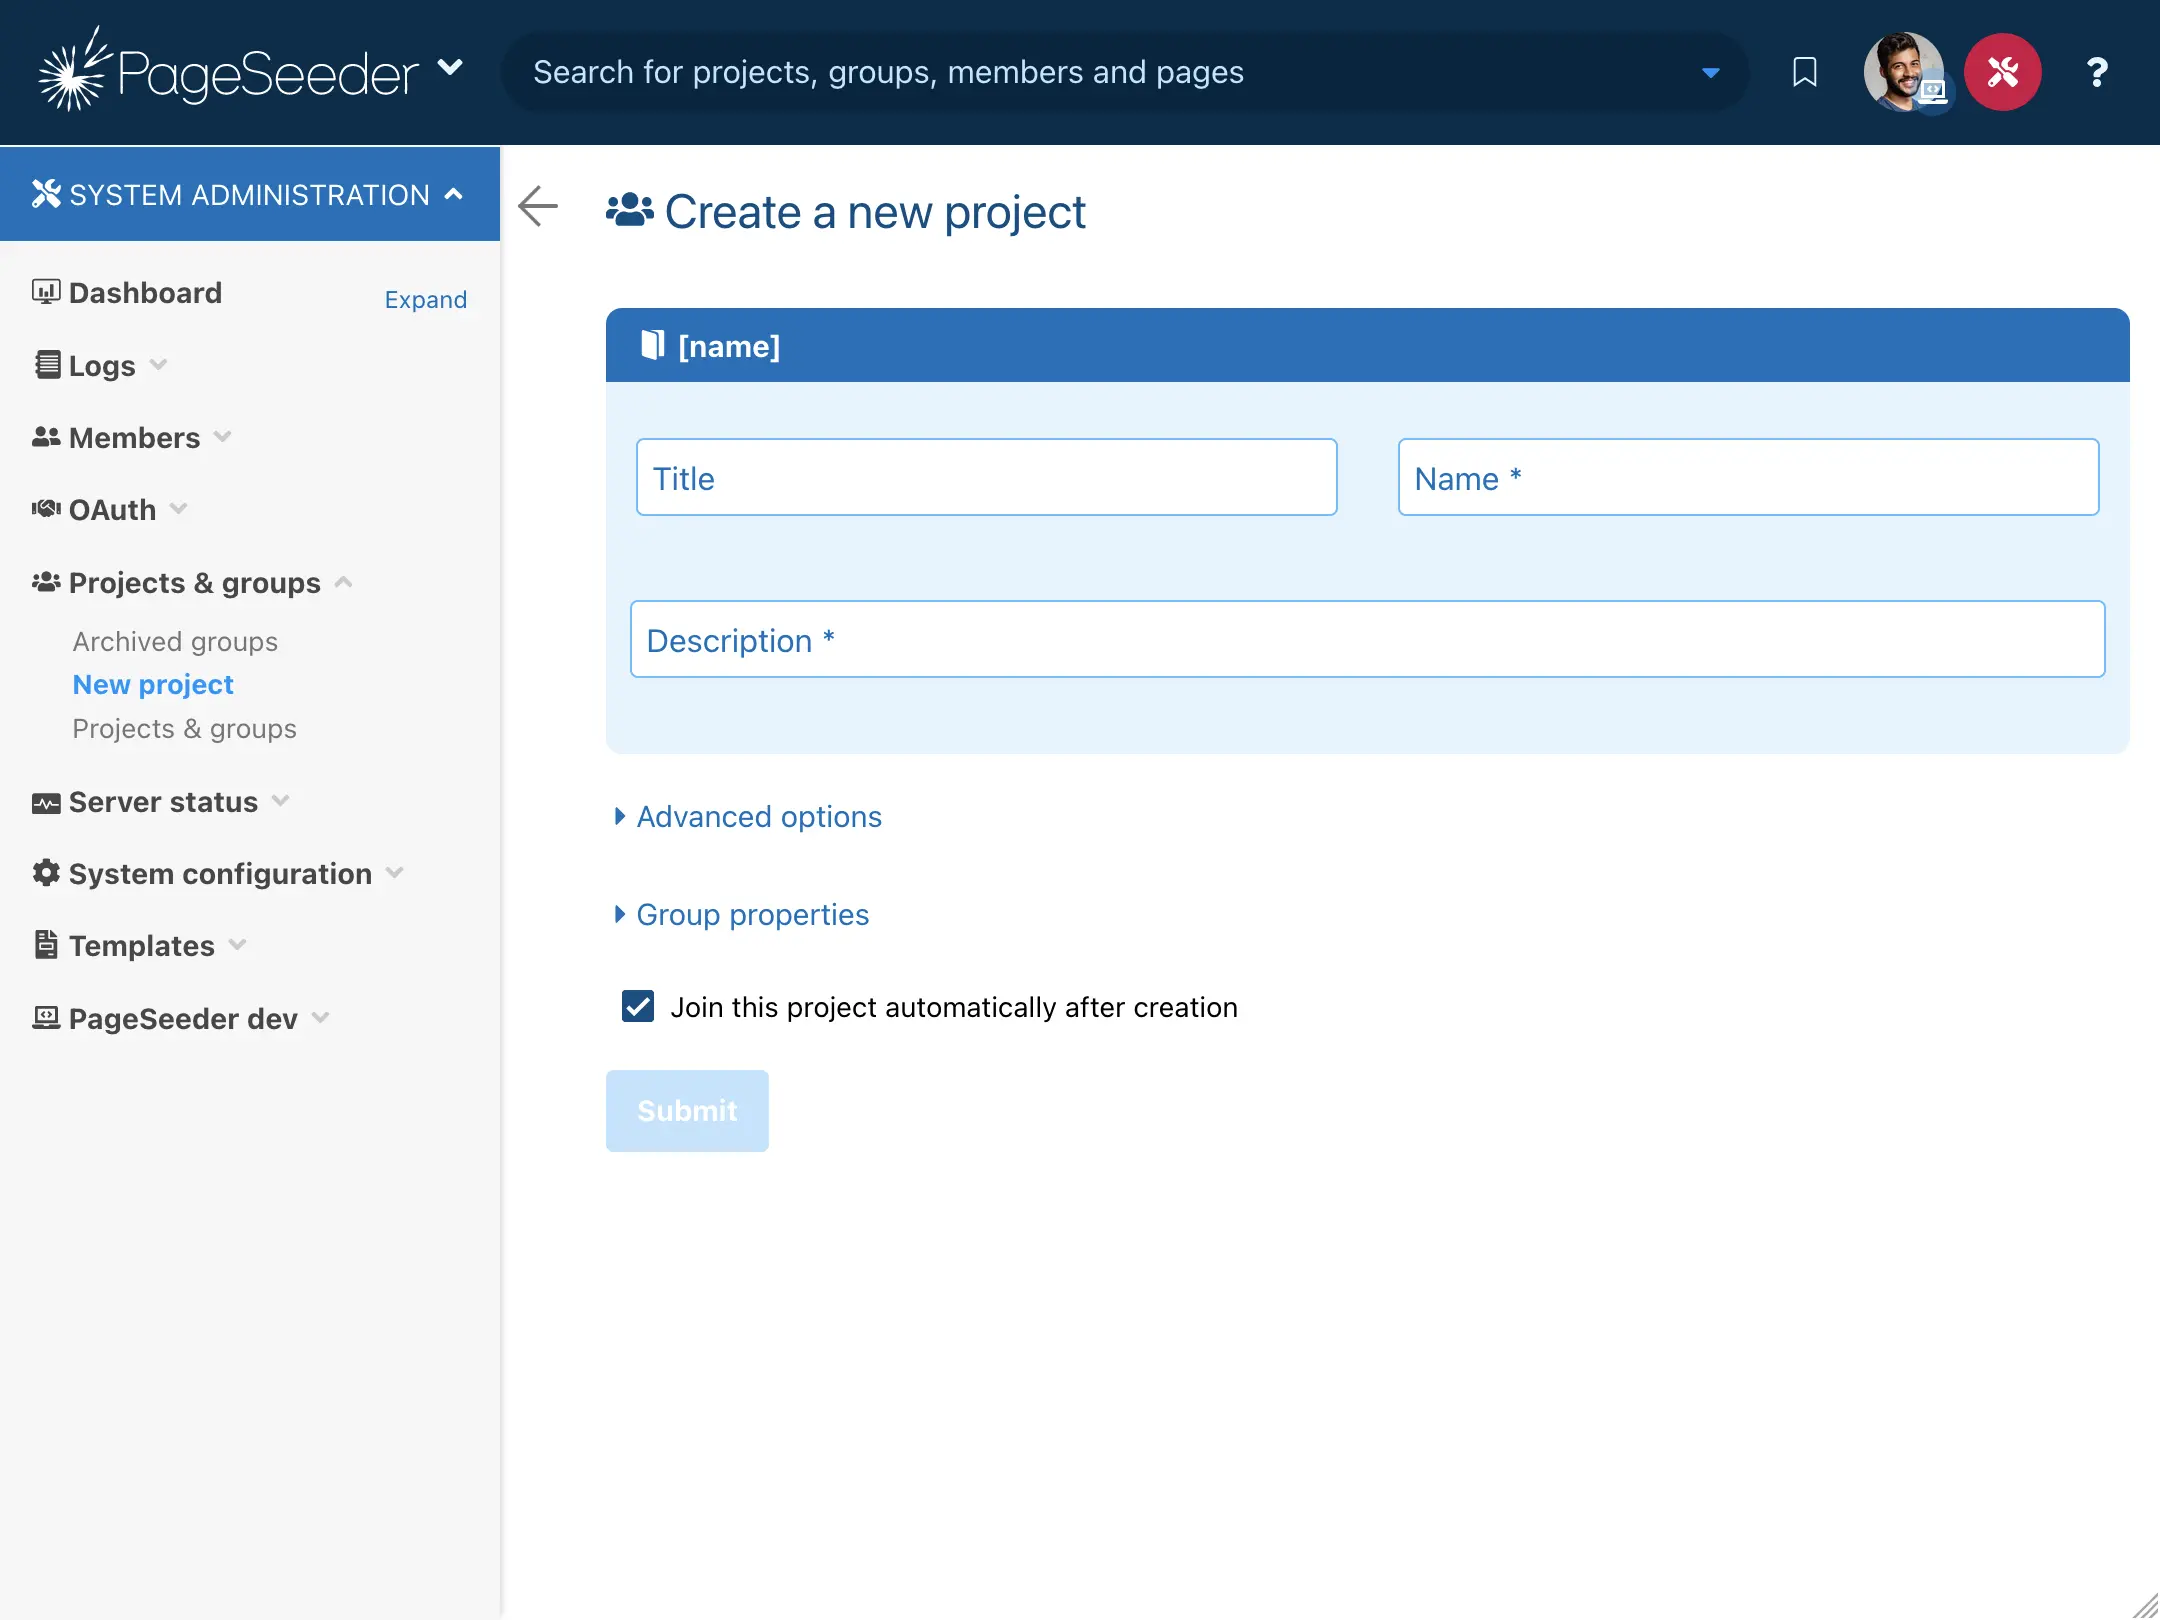
| Title | The short title of the project displayed in the user interface. This is usually just one or two words. |
|---|---|
| Name | The name of the project is automatically generated from the title, but you can change it if you prefer. It prefixes all groups in that project. |
| Description | A description for the project – it appears next to the project in various pages in PageSeeder. |
There are restrictions on the characters that can be used in the project name.
If things work out as planned, the following screen displays after clicking Submit.
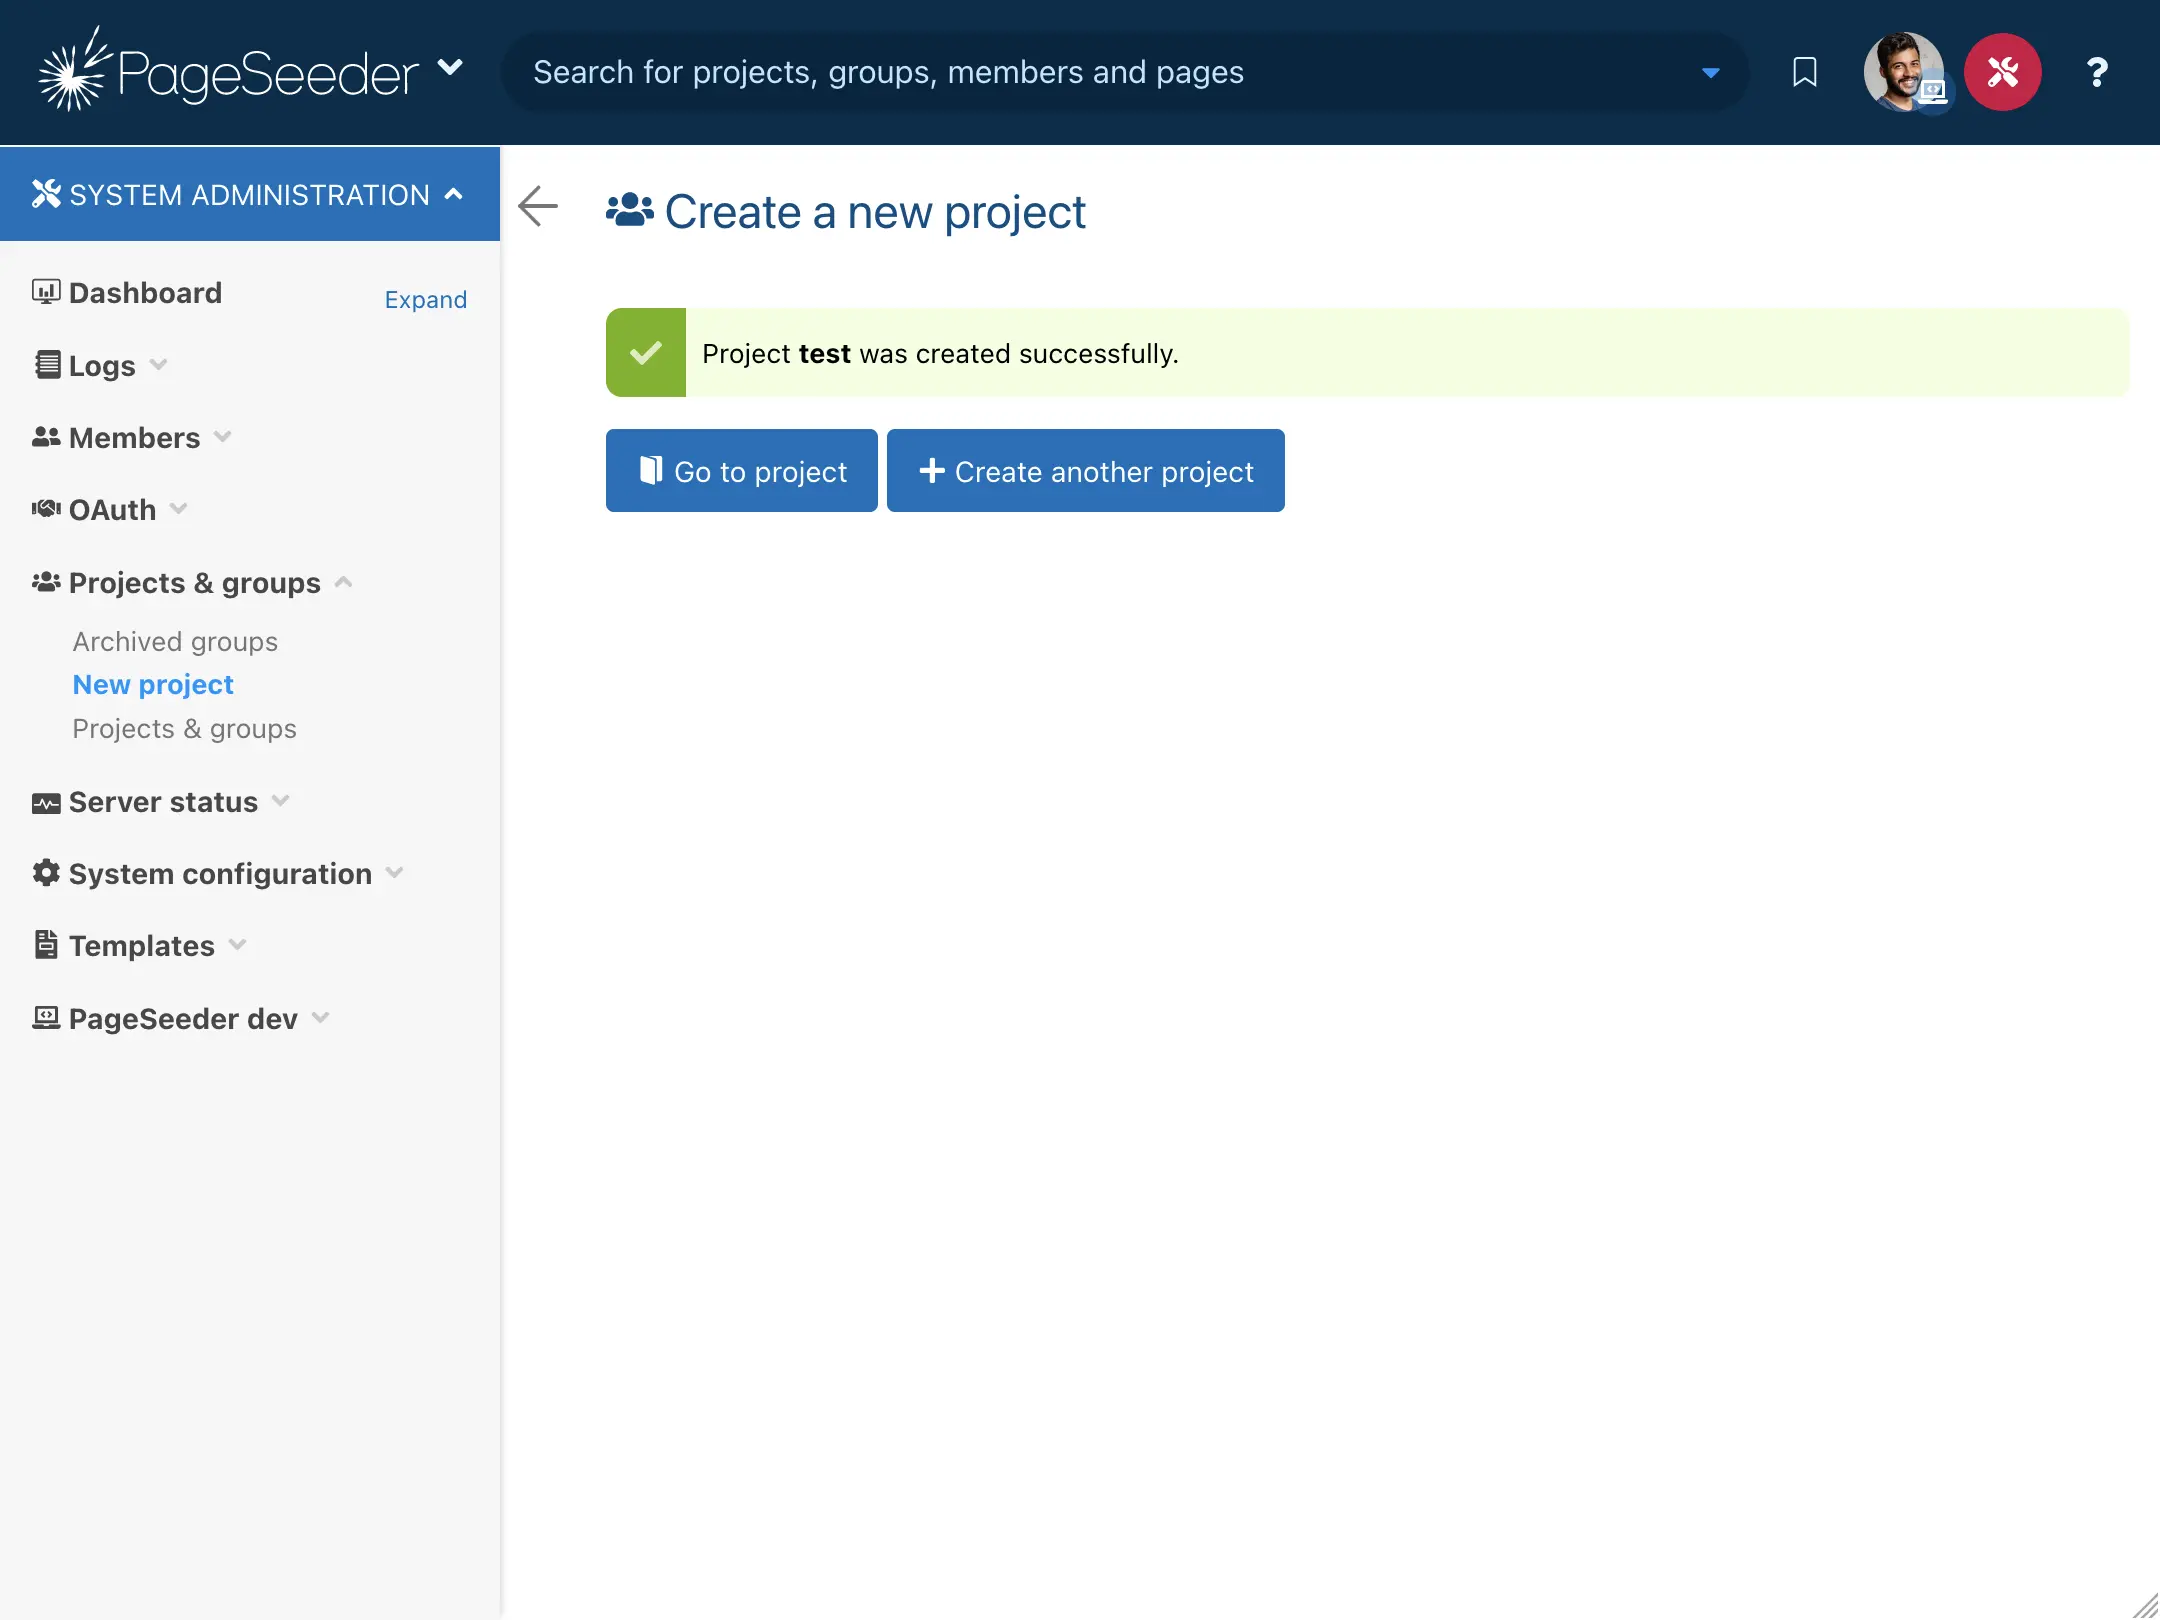
Click the Go to project button to go to the dashboard of the newly created project. The next screen shows the project dashboard.
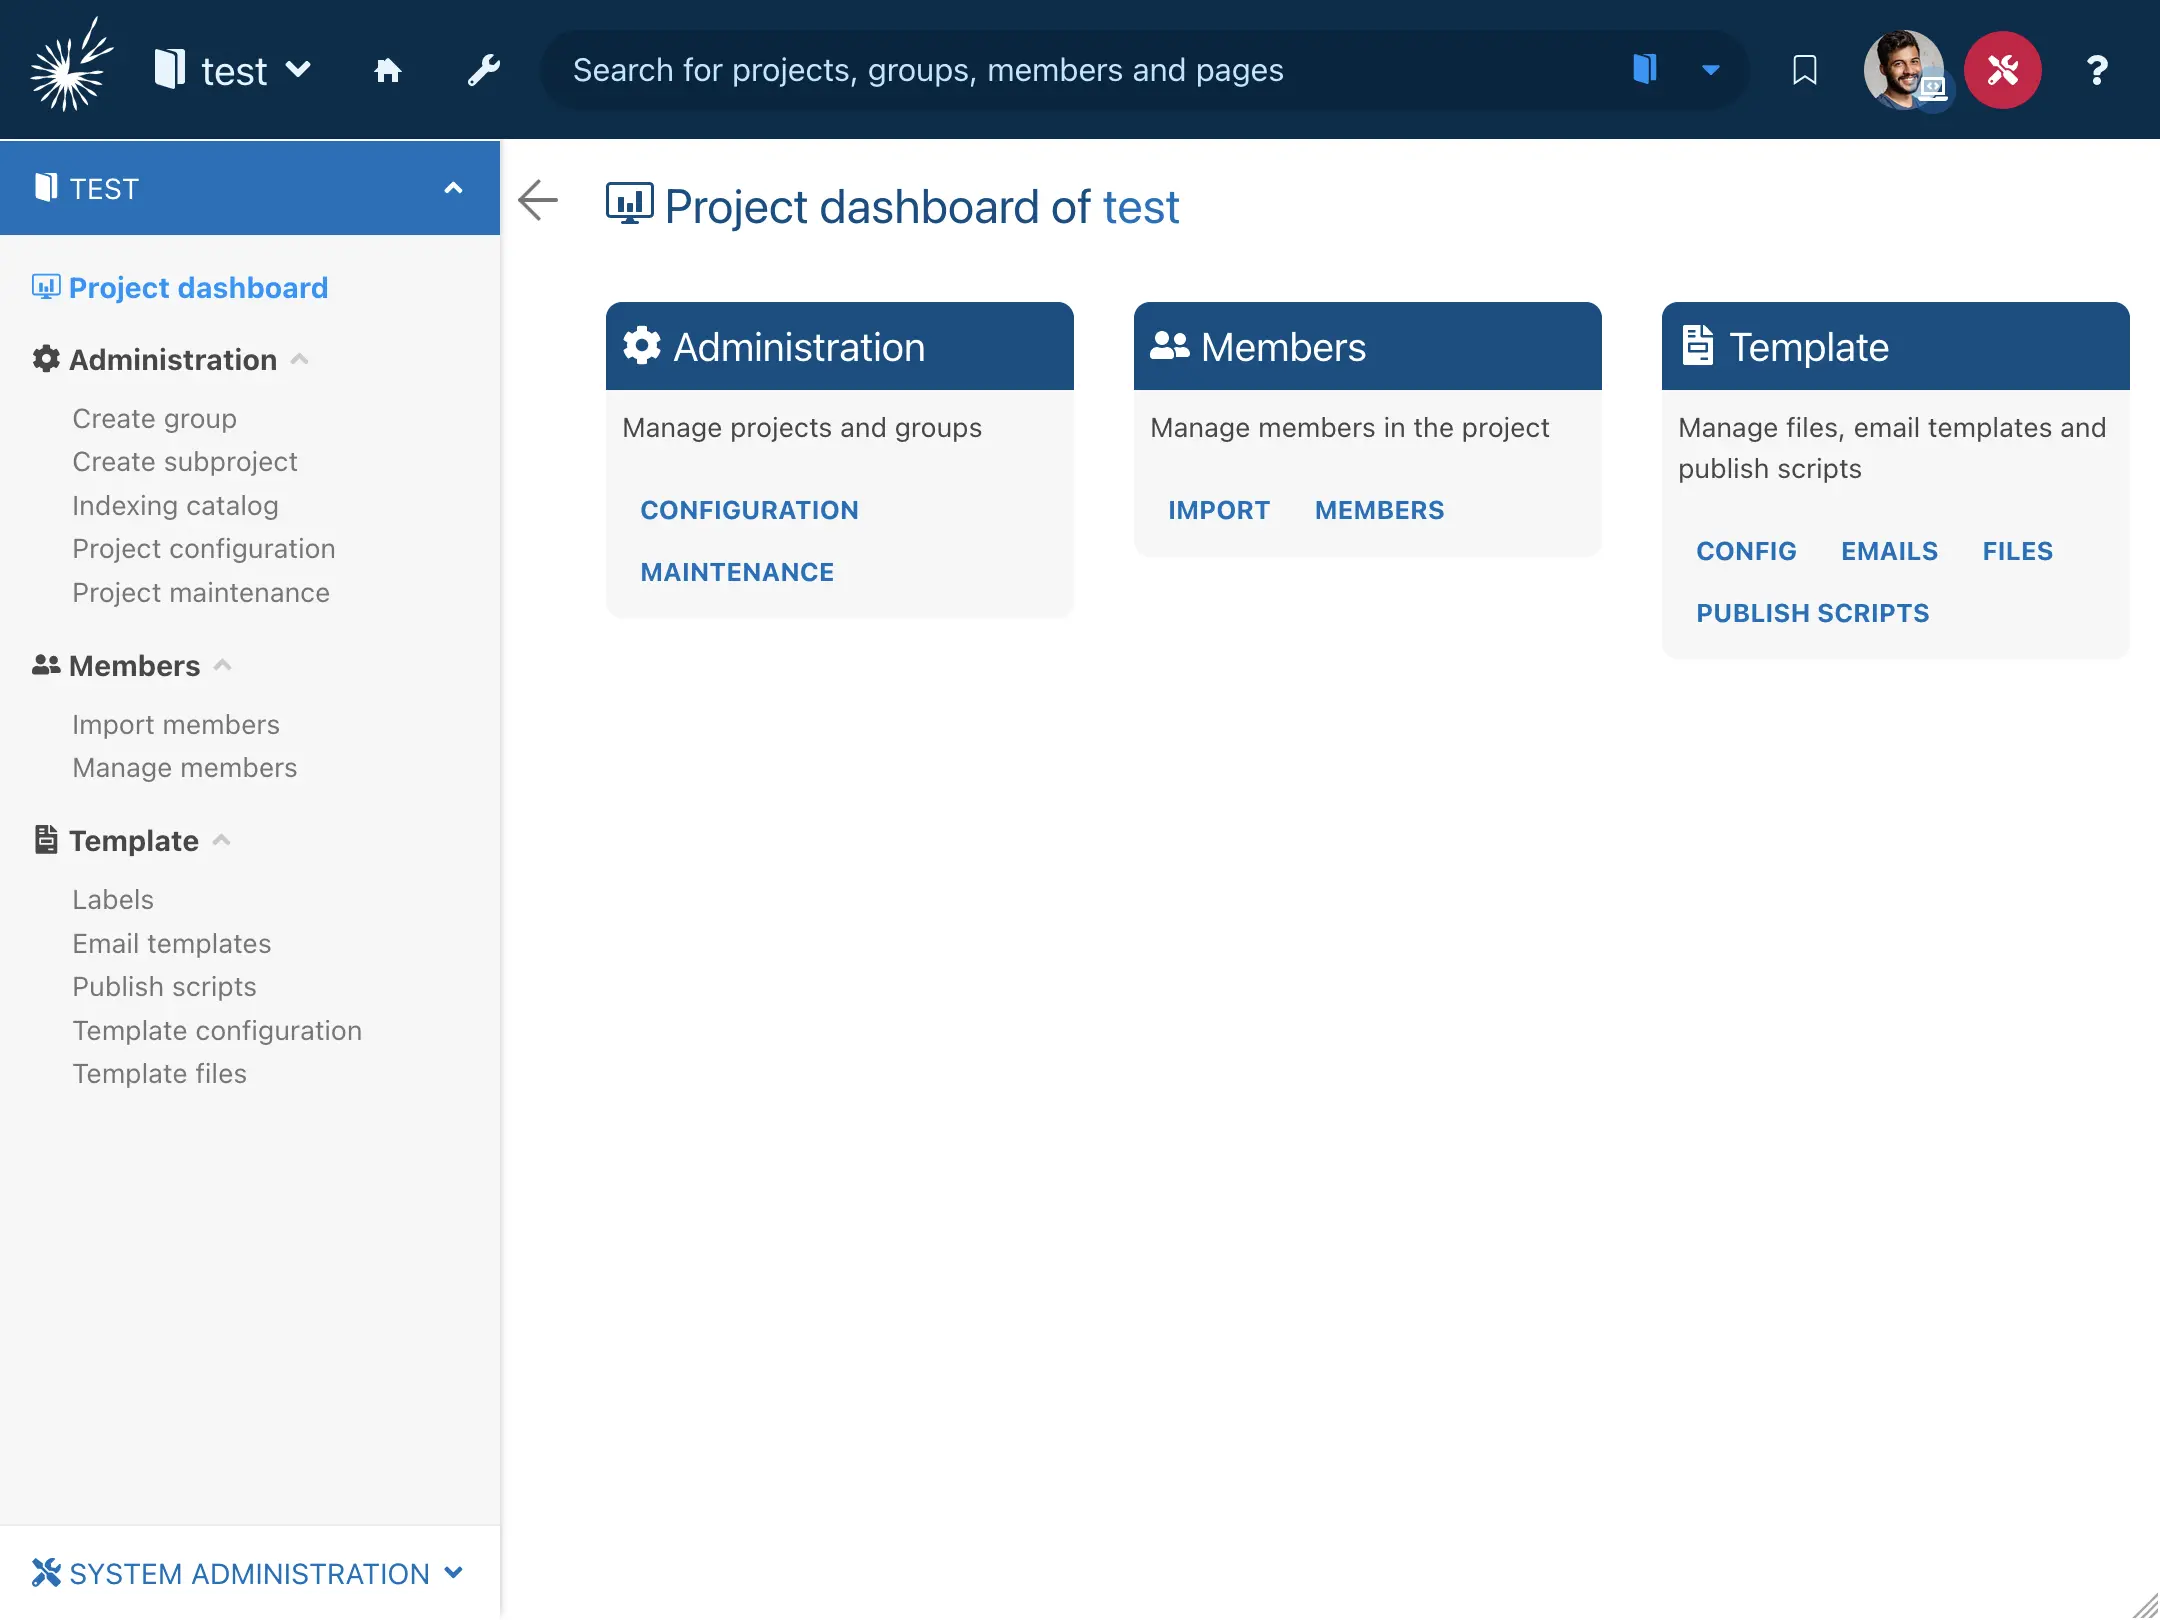
Create the first group
Next, we need to create a group within the project.
From the project dashboard, click the Create group link.
Fill out the form:

| Title | The short title of the group displayed in the user interface. This is usually just one or two words. |
|---|---|
| Name | The name of the group. The full name of the group is automatically prefixed by the name of the project. |
| Description | A description for this group. It often appears beside the group in the user interface. |
Click the Submit button to create the group:
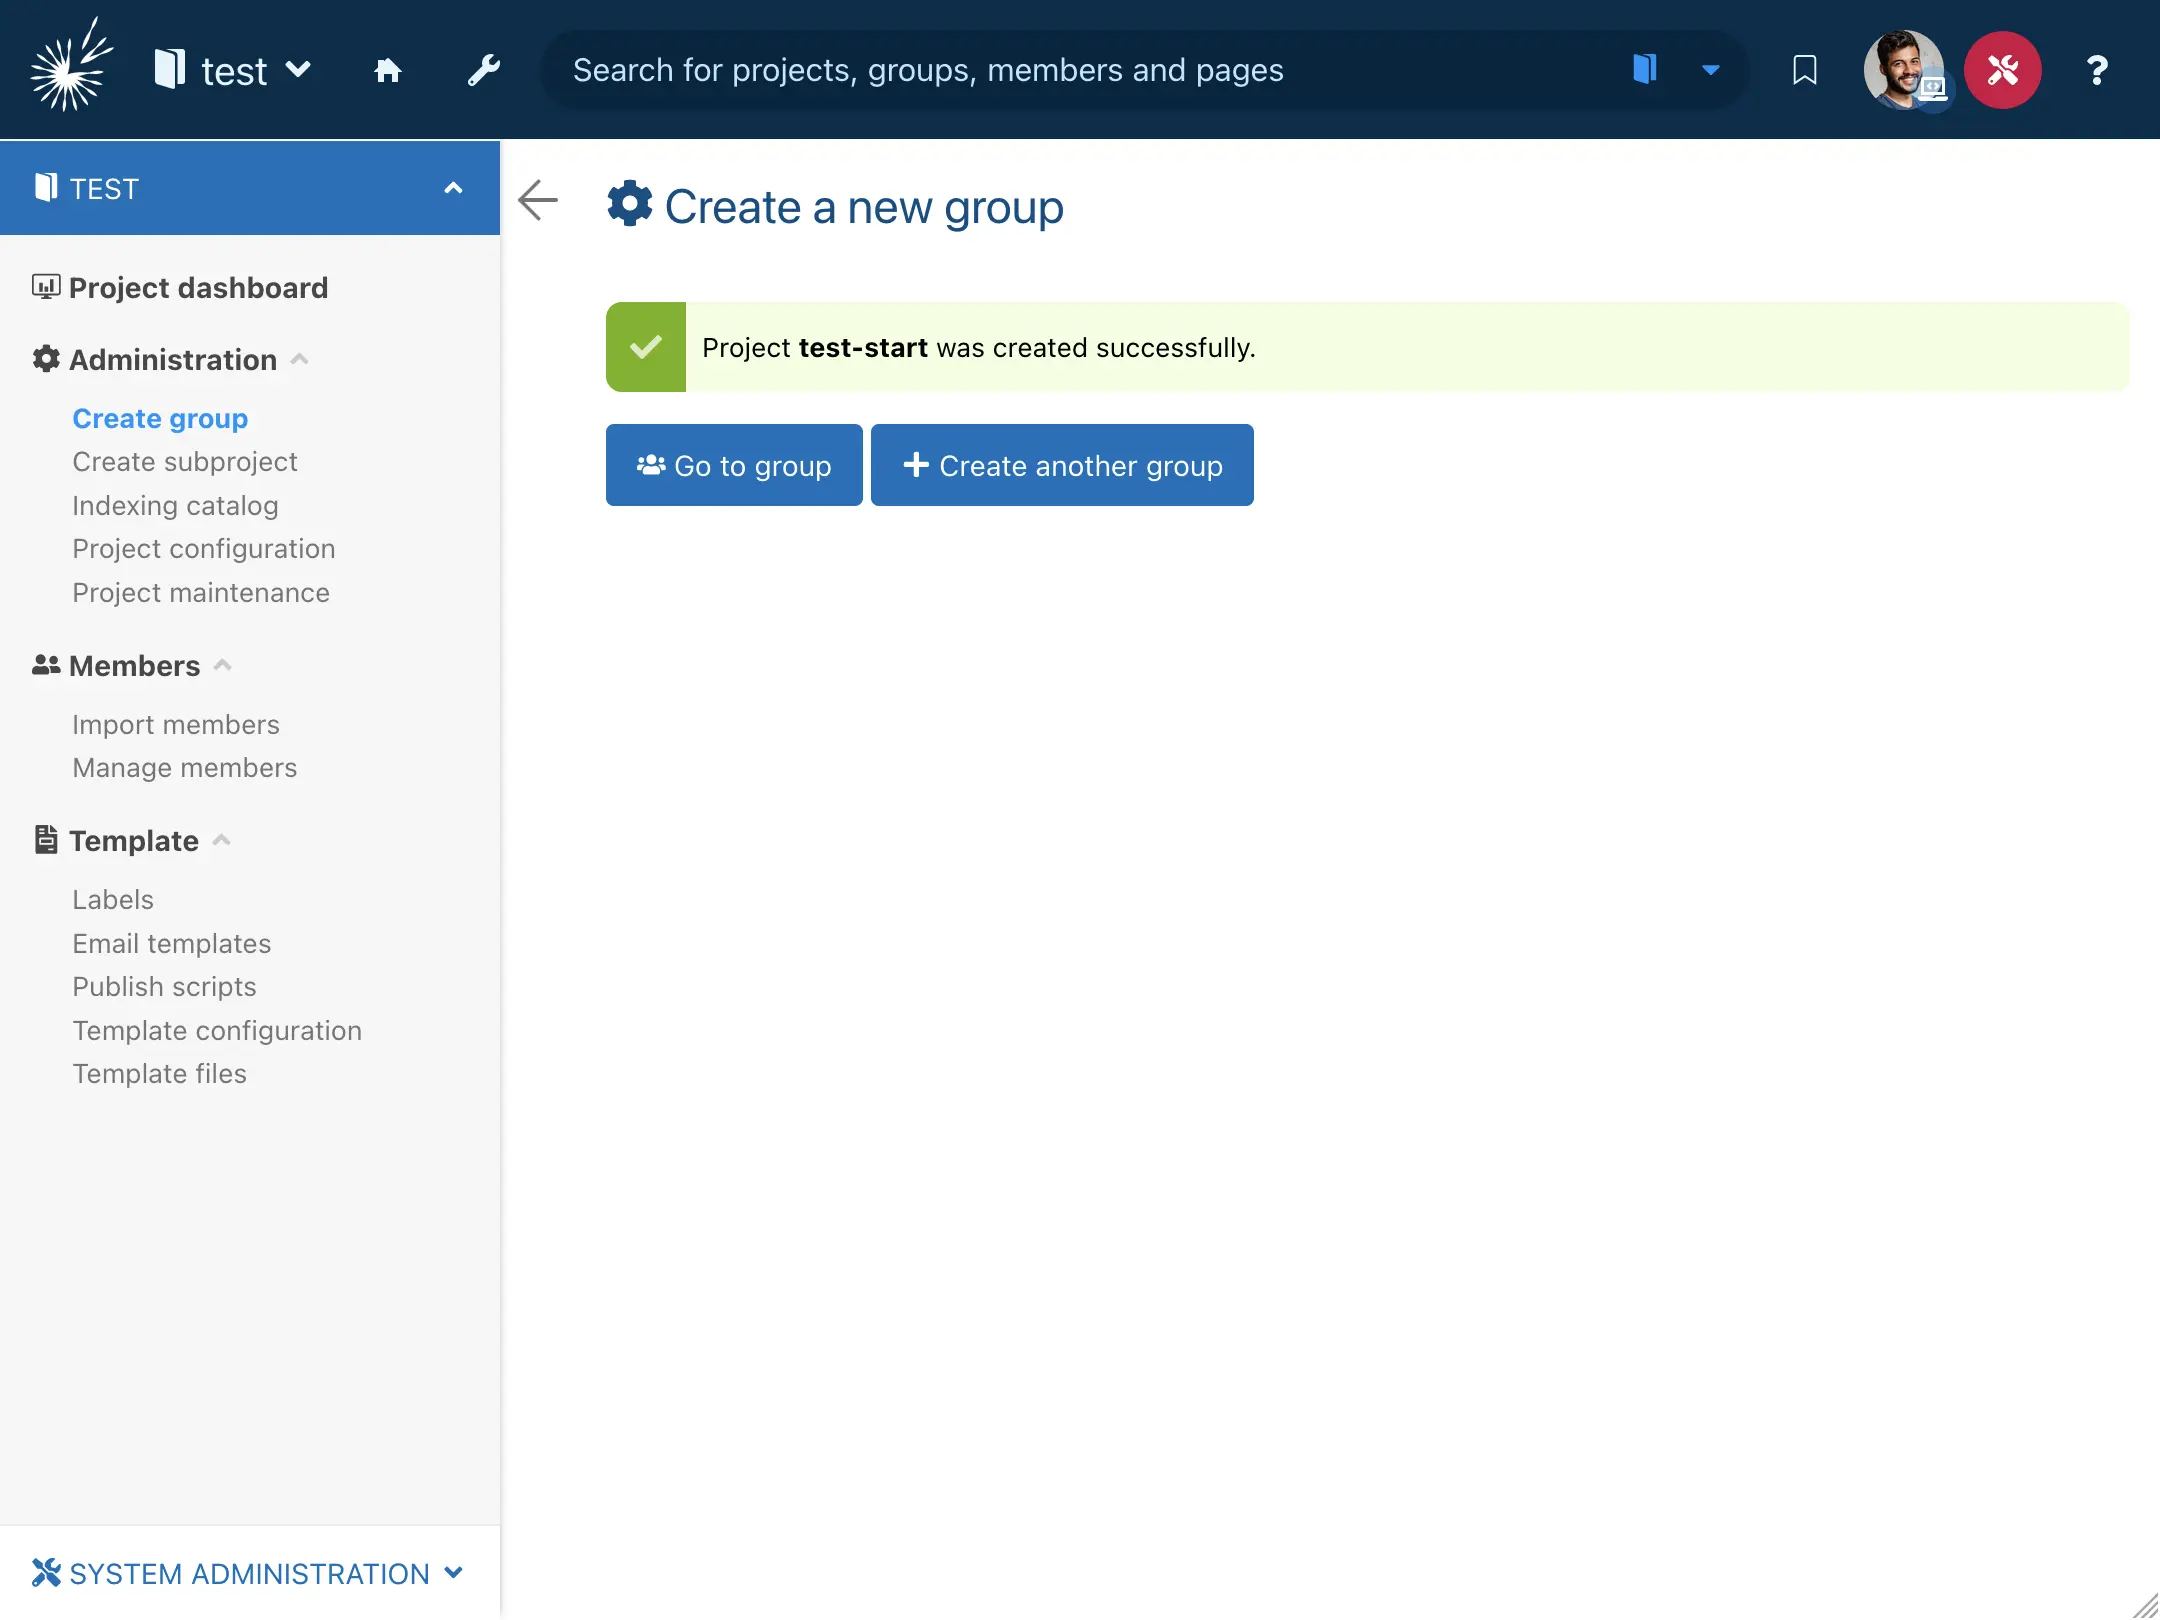
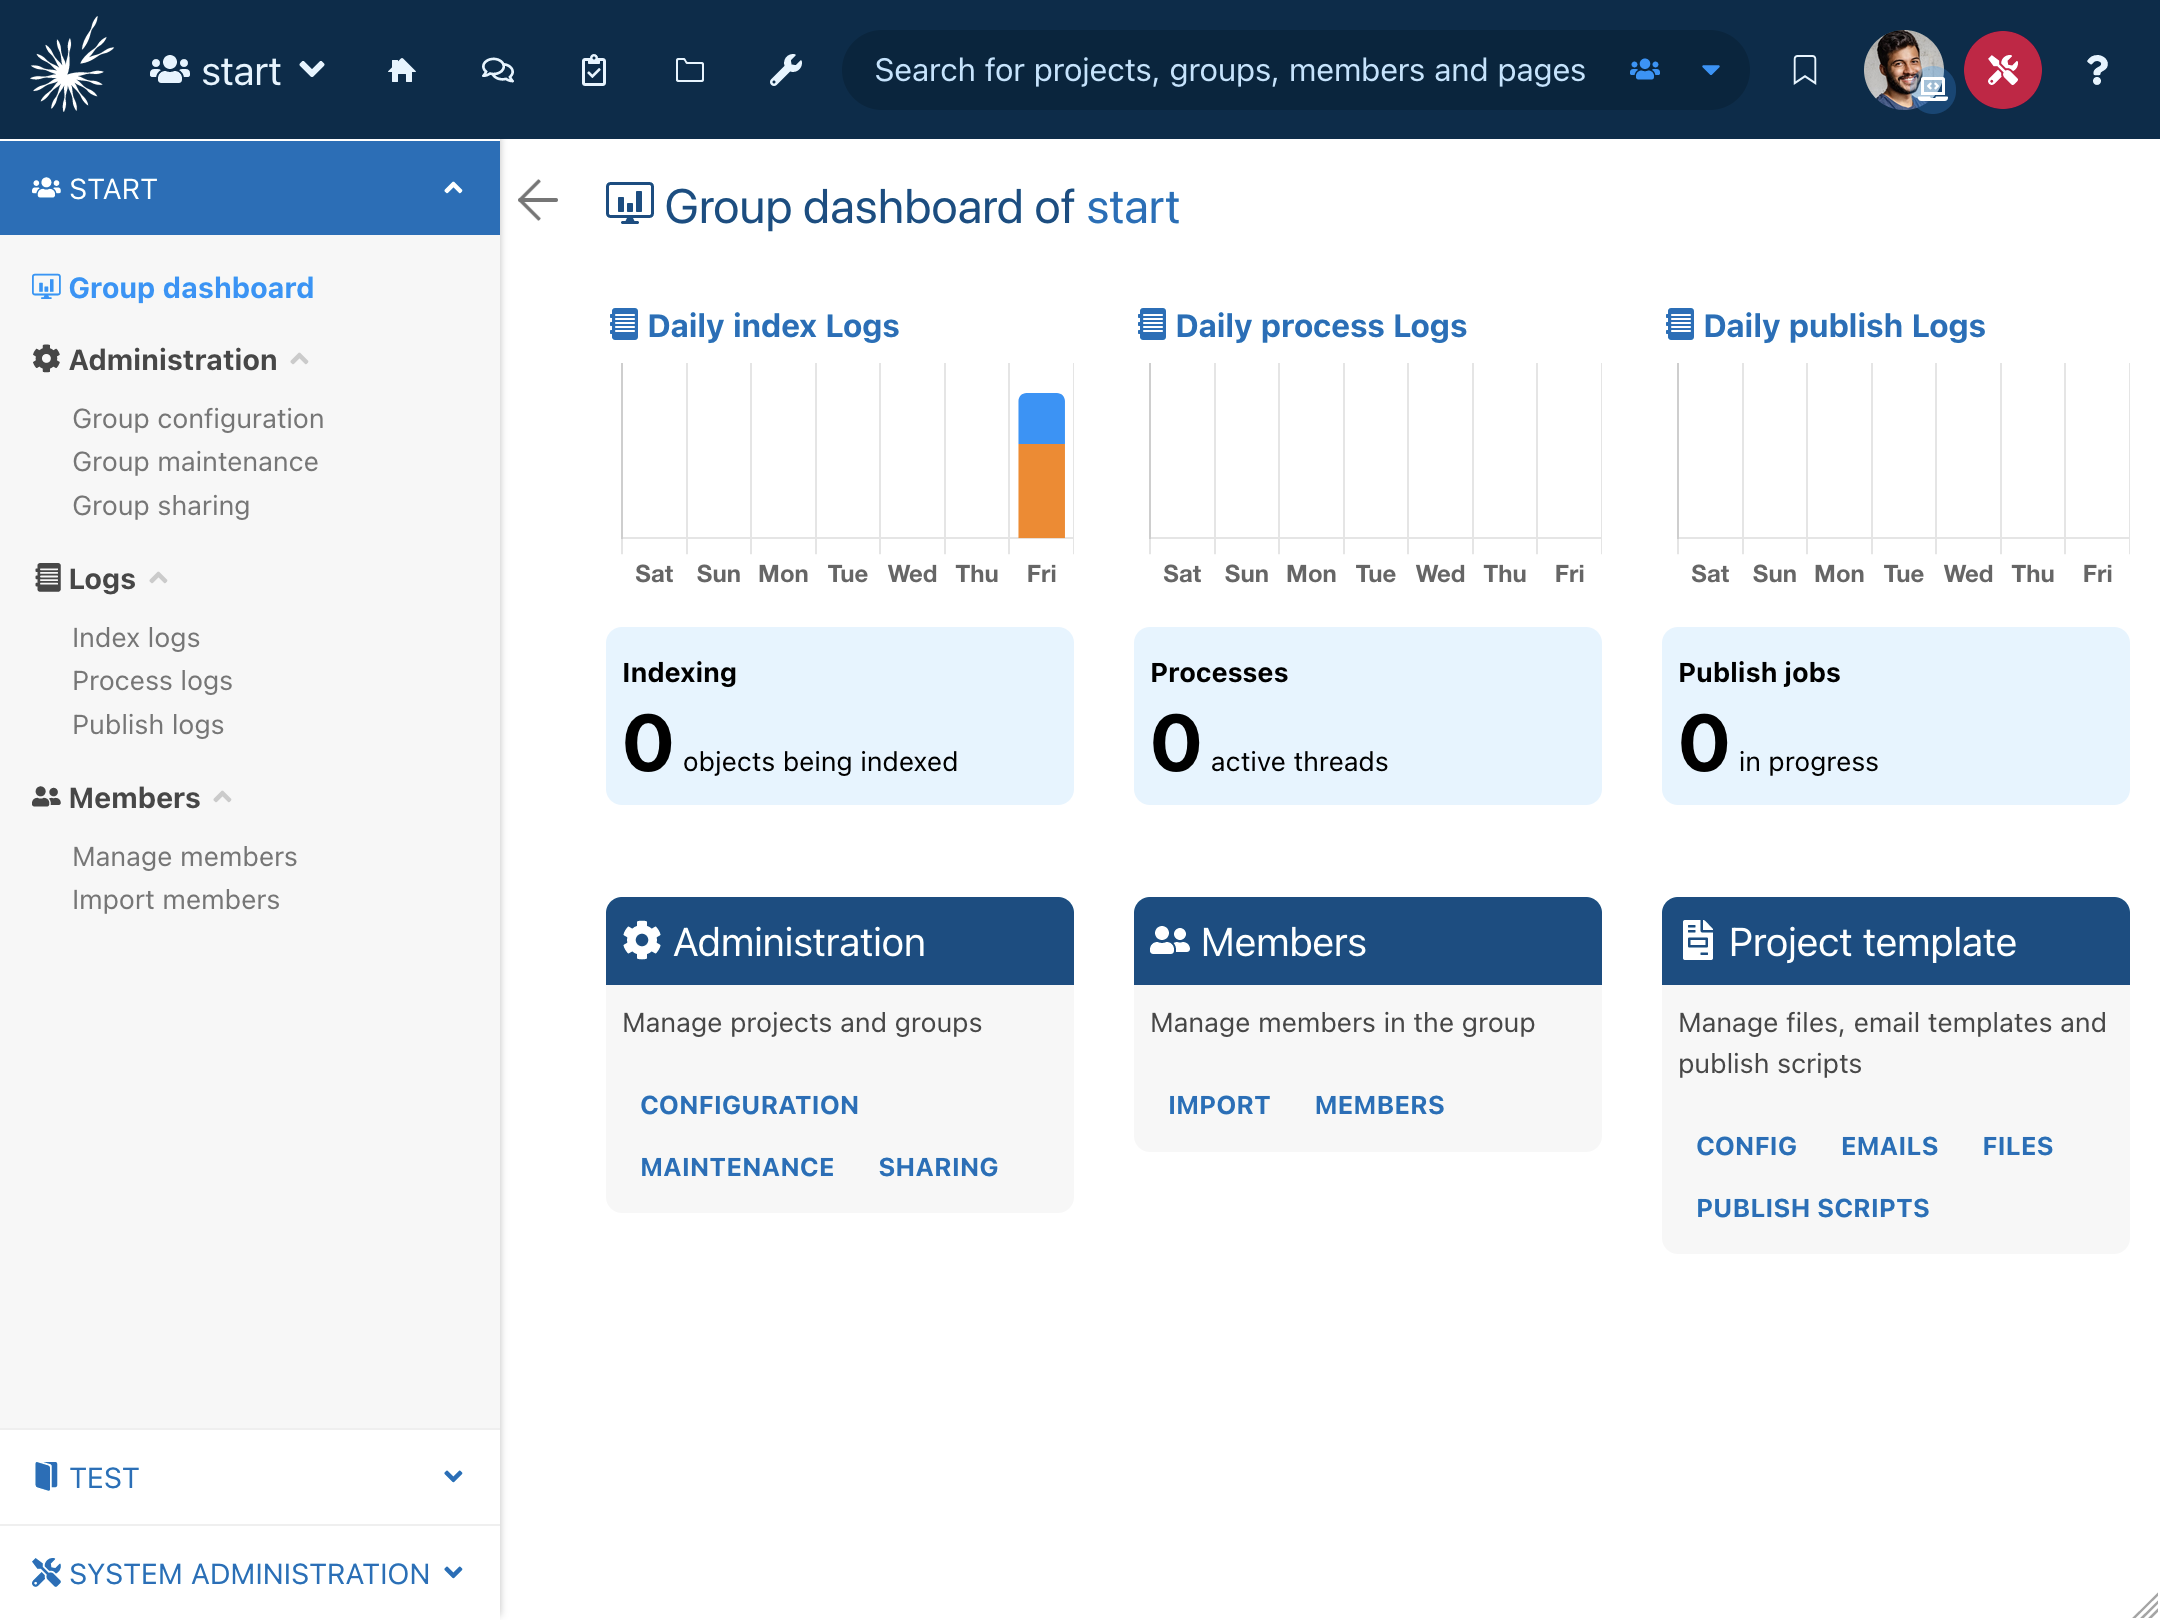
Click the Go to group button to go to the dashboard of the newly created group.
Next...
Have a look at the big picture in 3. Overall Architecture.