How to export a bibliography to DOCX
| Skills required | XML |
|---|---|
| Time required (minutes) | 30 |
| Intended audience | Developer |
| Difficulty | Easy |
| Category | Document |
Objective
This tutorial demonstrates the configuration of citations so they can be exported to a bibliography in DOCX.
- It includes the ability to create a library of sources which can be shared between different publications.
Prerequisites
To complete this tutorial requires:
- PageSeeder administrator access to a server with PageSeeder version 6.2 or later installed.
All the files for this tutorial are on Github .
Tutorial
Project setup and installing configuration bundle
- Login to PageSeeder as an administrator.
- Go to the project where you would like to install these capabilities. Alternatively create a new project by clicking the
System administration button at top right. Then click on New project under Projects & Groups and enter a project name, plus any description, then Submit. - Click the
Project administration button at the top. - Select Template files from the left menu and click the
Create button at the bottom of the page to open the Samples dialog. - Install a configuration bundle – Click the
Bundle button, then in the Bundle type field, select Document type from the dropdown. - Click the Select button to the right of a bundle – for this example, select Intermediate auto-numbered publication. You can also select Advanced if you want glossary features.
- Install the bundle under the root document type for your publication (e.g
references, shown in the Document type field on the right of the dialog). Click Install.
Verify package content - project configuration files
In the Template files page check the files as follows.
Export process
The psml/references/export folder (or the document type you specified) contains the following files:
| Filename | Description |
|---|---|
build.xml | Custom ANT script for exporting to .docx. |
docx-citation-transform.xsl | XSLT to convert PSML properties to DOCX citations, see Export citations to DOCX: Post-processing. |
psml-to-docx.xsl | XSLT that adds the inline labels necessary for figure / table captions to auto-number in .docx. Not required but is used for this tutorial. |
Labels
The label/ folder contains the following file:
| Filename | Description |
|---|---|
label-config.xml | The label-config.xml, contains all the available labels for a project. |
You can select Labels from the left menu and the following should be displayed:
| Label | Type | Description |
|---|---|---|
appendix | document | Not required for this tutorial. |
figure-caption | block | Not required for this tutorial. |
table-caption | block | Not required for this tutorial. |
asciimath | inline | Not required for this tutorial. |
tex | inline | Not required for this tutorial. |
pages | inline | Used directly after citation xref to indicate page no. or range (e.g. 10 - 20). |
Publication types
Select Template configuration from the left menu, then Publication types tab. In the first column, it should show the report publication type, which includes these files:
| Filename | Description |
|---|---|
publication-config.xml | Not required for this tutorial. |
pdf-export-config.xml | Not required for this tutorial. |
word-export-config.xml |
The configuration file that determines the formatting of PSML as DOCX, see Export Microsoft Word DOCX config usage. Contains the following line for this tutorial: <citations documenttype="bibliography" pageslabel="pages" /> |
word-export-template.docx | The default DOCX template which you can customize. |
If you prefer a different name to report, select Template files from the left menu, scroll down to the report folder and select Rename from the right drop-down menu. Change the name and click Rename. Remember to substitute the new name whenever this tutorial mentions report.
Document types
The Template configuration page should display these PSML document types:
| Document type | Description |
|---|---|
default | The content of a publication. |
references (or your type) | The root document of a publication. Includes the custom export configuration. |
bibliography | A collection of sources used in a publication (contains xrefs to source documents). This document must be embedded in the publication, but only the <section id="title"> content will be used. |
endnotes | Not required for this tutorial. |
footnotes | Not required for this tutorial. |
help | Not required for this tutorial. |
source | Documents in source library (bibliography document points to these). One source per document. |
XRef configuration
Select Edit XRef configs (top right).
| Filename | Description |
|---|---|
xref-config.xml | The Xref configuration for the import of cross-references including footnotes, endnotes, citations, and more as listed below. |
The following xref configs should be listed (see Xref config):
- footnote – not required for this tutorial.
- endnote – not required for this tutorial.
- para – not required for this tutorial.
- internal-para – not required for this tutorial.
- numbered-heading – not required for this tutorial.
- caption – not required for this tutorial.
- citation – to insert a citation.
Creating a publication
As an alternative to this step use a preprepared example publication as follows:
- In PageSeeder go to the project from Step 1 and create a new group by clicking the
Project administration button at the top. Then select Create group from the left menu and enter a group name, plus any description, then Submit and Go to group. - Click Group documents (folder icon) at the top, then click the documents folder.
- Select Upload document from the (+) menu top right and drag the
documents-[date].zipfile (downloaded from Github - see link under Prerequisites) to the upload dialogue. - Click the Unzip icon next to this zip file.
- Click the Continue button at the bottom of the dialogue.
- Click the Confirm and upload button and wait for the “Successfully uploaded” message, then click Close.
- Click the “System Report” folder, then click the “System Report” document.
- Click the Document information icon on the right, click Make this document a publication, ensure there is a Publication ID and for this example, select Publication type "
report". Click Submit then Save and refresh the page in your browser.
Create a publication root document and content as follows:
- In PageSeeder go to a group under the project from Step 1. Alternatively create a new group by clicking the
Project administration button at the top. Then select Create group from the left menu and enter a group name, plus any description, then Submit and Go to group. - In this group create or open an existing document of the root type you selected previously (e.g.
references). - Click the Document information icon on the right, click Make this document a publication, ensure there is a Publication ID and for this example, select Publication type "
report". Click Submit then Save. - If there is no existing content, double-click in the root document, click Browse and create a document (for example
defaulttype), select it and save. On the root document press Ctrl-S to save everything. - Click a content document, add some headings and paragraphs if required.
Citations
The objective of this component is to create a bibliography from a library of references. The primary building blocks for this are a custom xref type from the publication to fragments in the bibliography document. These fragments link to “source” documents, that contain all the necessary fields for creating a full citation.
After saving a citation, the xref title to the fragment in the Bibliography document should appear in brackets as the citation. This document provides a quick way to add citations without interrupting the writer by forcing them to fully express the citation. This is done later when each citation fragment is xrefed to a document in the source library (a folder). These documents contain all the necessary information for Word to process as citations in any of the formats it supports, such as APA or Harvard.
To ensure that all the components are ready to use, do the following:
- Go to the folder containing your content documents.
- Create a document with document type Bibliography and add it to your publication root. You can add citation fragments now, or instructions are given at step 6. following.
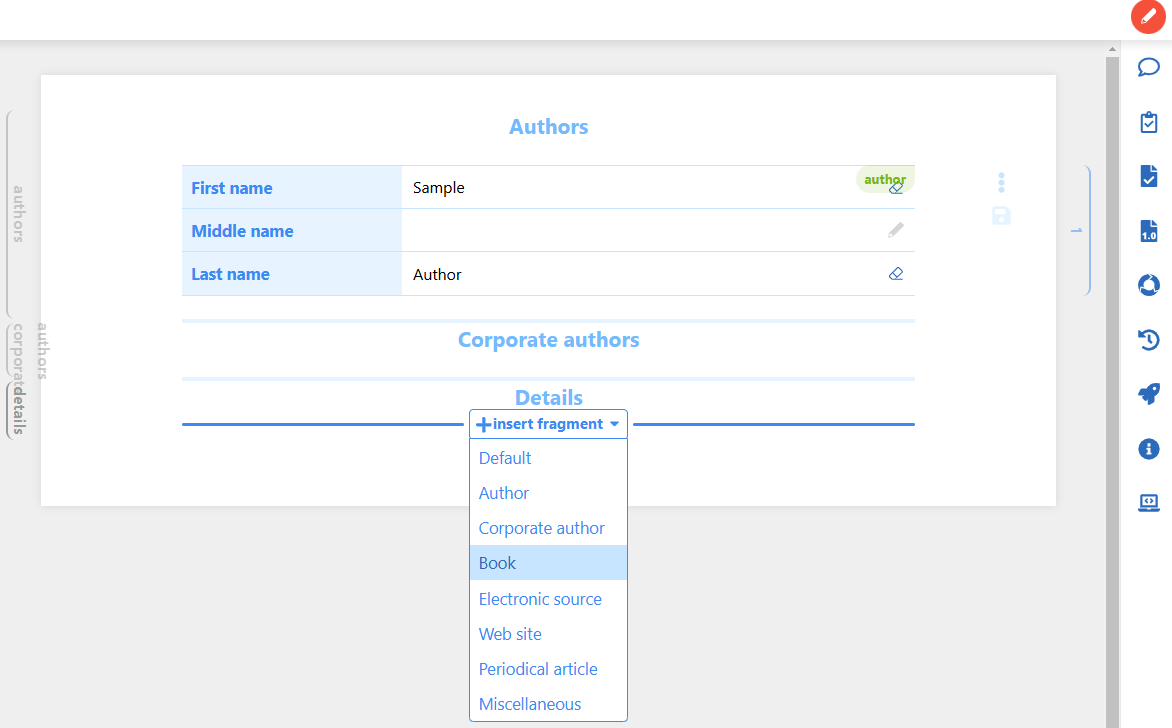
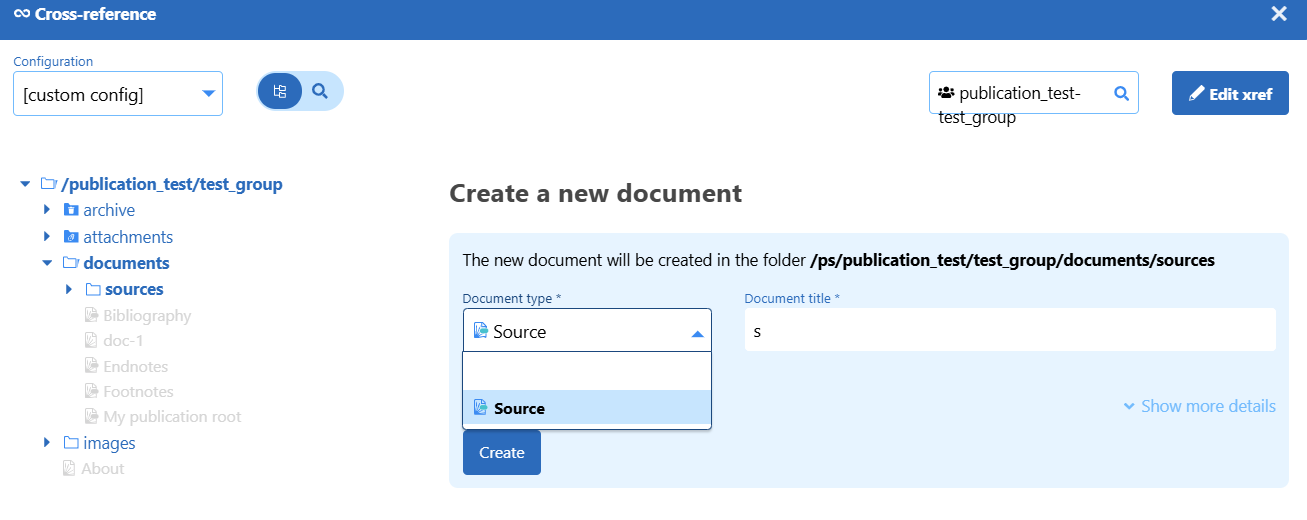
- Create a document with document type Source (creating the first Source document automatically creates a sources folder). Enter a Document title for the new source, then click Create.
- Click to open the new source document and then click the pencil icon at top right to edit it to fill in the details. Click Save.

- View a content document and double-click on a paragraph to enter edit mode.
- Place the cursor in the text, and select the insert XRef icon
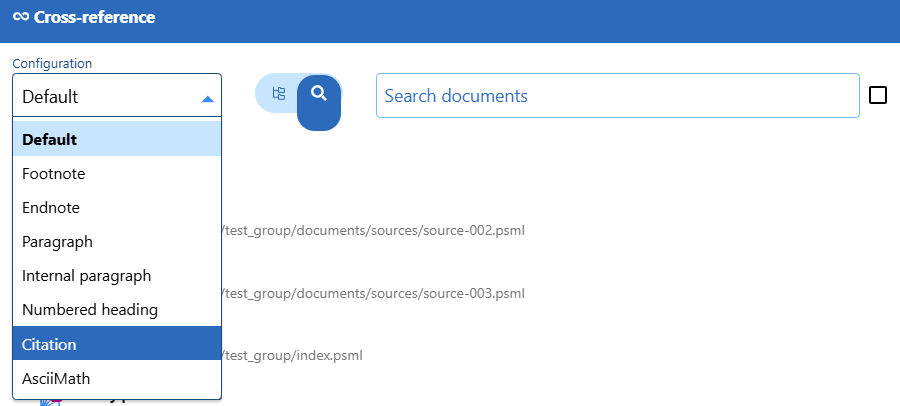
. - To add a new citation fragment to the Bibliography document:
- Under the Configuration dropdown, select “Citation”.
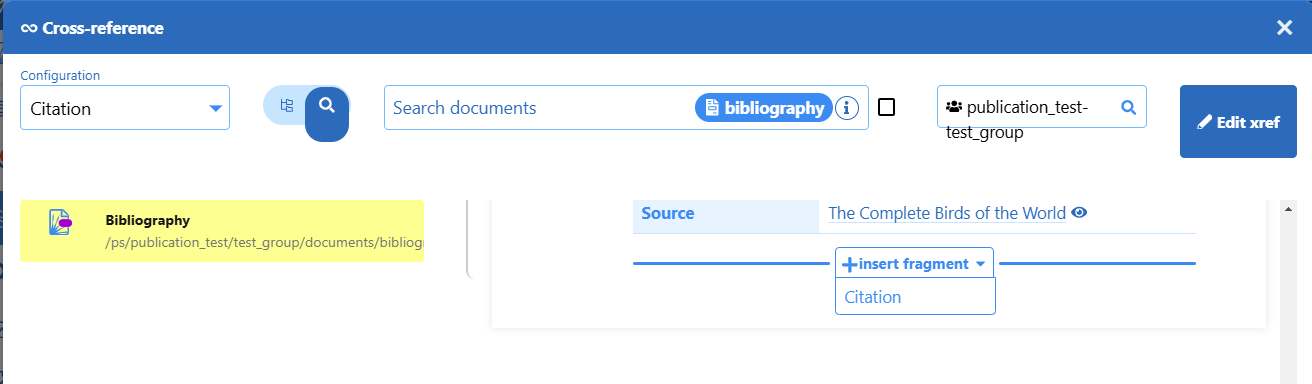
- After the Bibliography document appears:
- Click the
at the top right. - Scroll down, mouse over the bottom of the Bibliography document, click the (+) insert fragment icon and click Citation under it.
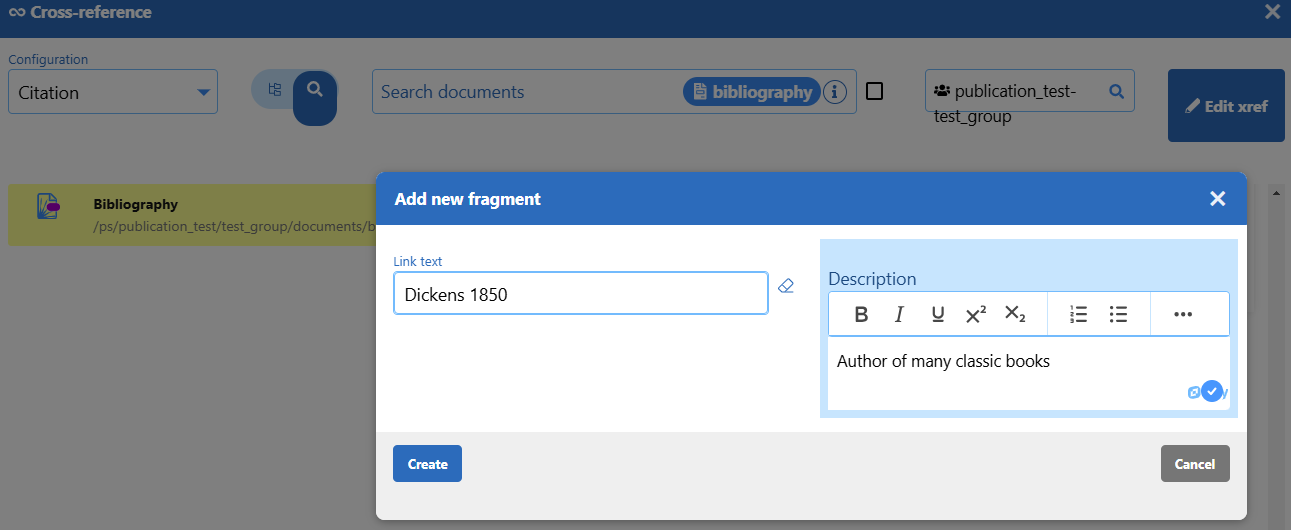
- Enter Link text (for example Smith, 2015) and a Description for the source, then click Create.
- Click the new fragment and then click Save.
- Press Ctrl-S then click the edit mode icon
(top right) to turn edit mode off. In your document, you see the Link text you entered at step b.iii. above. - In your document, click the new citation xref to go to the Bibliography document, and then double-click on the citation fragment to enter edit mode.
- To add an xref from the Bibliography document to the Source document, at the Source property, click the
Browse documents icon next to the Source label, if you see the title of your source at the left, click the title, and it will then display in the main section, or you can start typing the title of the source. - In the main section, click on Select this document and then click Save.
- If you need to create a new source, in the xref dialog, click the Browse documents icon and click on the sources folder. Enter the title for your source, click Create, click Select this document, then click Save.
- Press Ctrl-S then click the edit icon
(top right) to turn edit mode off.
Export as a Word document
- Go to any document in your publication.
- Click the Document export (rocket) icon in the left margin.
- Under the Choose an export action drop down, select Export publication as custom DOCX and click Run.
- Open the document in Microsoft Word and see how the citations and bibliography are displayed by Word.